Overview
The Retainer Wizard is a quick and easy way to enter a retainer.
Step 1 - Enter the appropriate in the given fields (Fig.1).
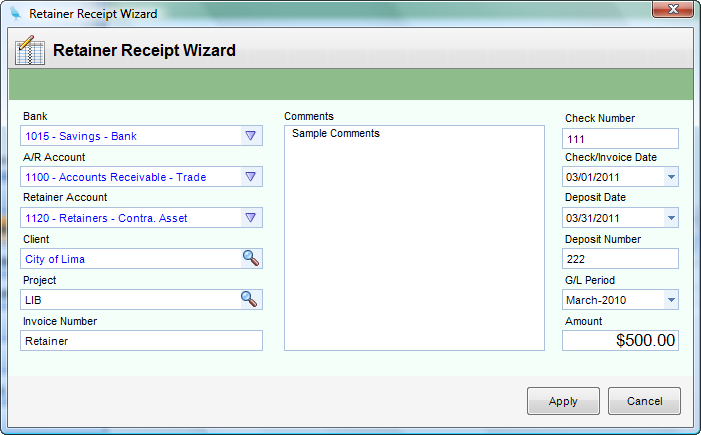
(Fig. 1)
Step 2 - Click Apply. This automatically creates both a Sales Journal Entry (Fig. 2) and a Receipt Journal Entry (Fig. 3).
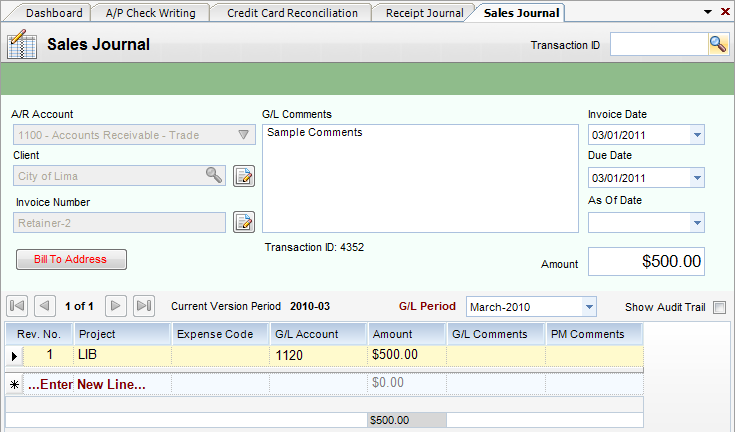
(Fig. 2)
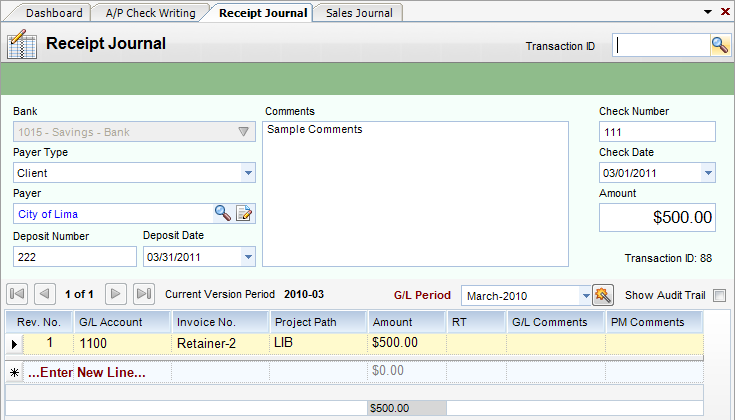
(Fig.3)
Step 3 - To apply the retainer to an invoice, go to PA Bill Review (Accounts Receivable) and pull up the project being invoiced. Click the Paper/Pencil icon next to Current Retainer (Fig.4). Type in the correct amount and click OK.
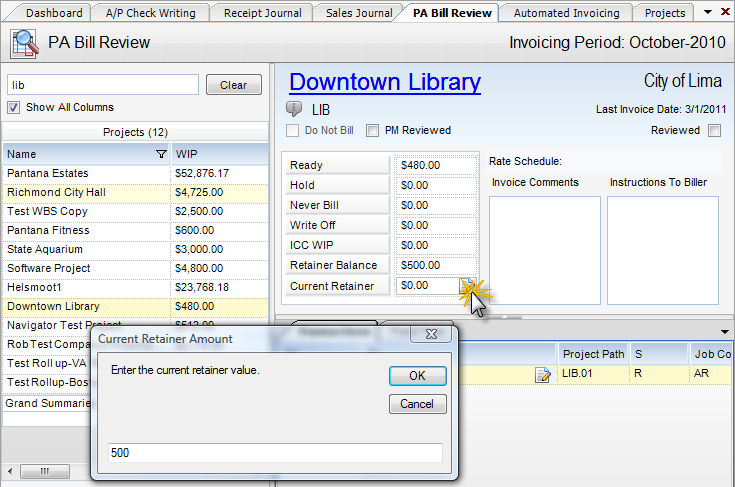
(Fig. 4)
Step 4 - Now go to Automated Invoicing (Accounts Receivable) and run the project with the Retainer (Fig.5). You will see the retainer in the grid. From here you are able to assign and post the invoice that includes the retainer.
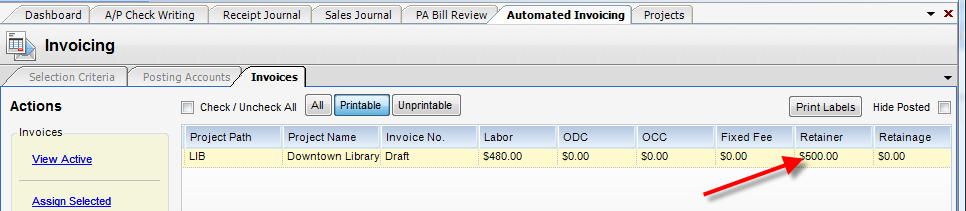
(Fig.5)