Overview
How to Enter a Timesheet.
Note - Upon first entering Timesheets, the screen will open to the user’s first or oldest unsubmitted timesheet. If no timesheet opens, there are no unsubmitted timesheets. To enter time for a period where no unsubmitted timesheet exists, contact a timesheet administrator to have one created.
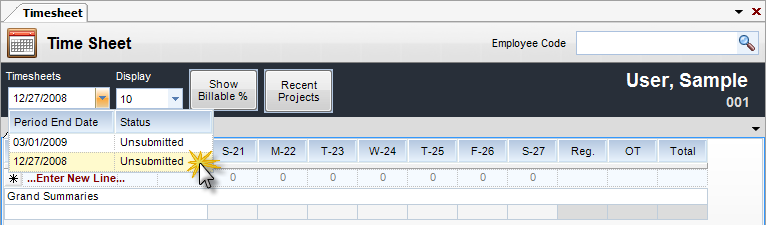
Step 1 - Select the timesheet on which to enter time. Navigate between timesheets by using the Period End drop-down on the upper left some of the screen. The number of period end dates listed in the drop-down box is controlled by the Display drop-down box to the right.
Step 2 - Double click on the timesheet on which to enter time. The timesheet will be pulled up for editing. Add as many rows or lines to the timesheet as needed. Click Save to save all time entered on the timesheet. To remove a row, click to the far left of it and press Delete. The Timesheet Grid will display a column for each day within the timesheet period. The last row of the grid will contain the daily total hours. When the Global Settings to Allow Users to Enter Overtime is flagged, there will be an Overtime column.

Step 3 - Once all time for the period is correctly entered and the timesheet is ready to review by a manager, click Submit at the bottom of the screen. Once a timesheet is submitted, it can no longer be edited, unless a manager chooses to send it back to the user, thereby re-opening it for editing.
Note: Total Hours for a timesheet will appear as Total Direct and Indirect Hours. The Submit and Approve date will also display here.