Overview
How to Create a Project.
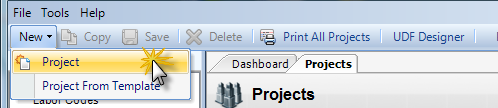
Step 1 - In the Projects applet, click New, then select New Project (located in the toolbar).
Step 2 - Fill out the appropriate information on the General Tab. All brown information labels are required fields to save the new project.
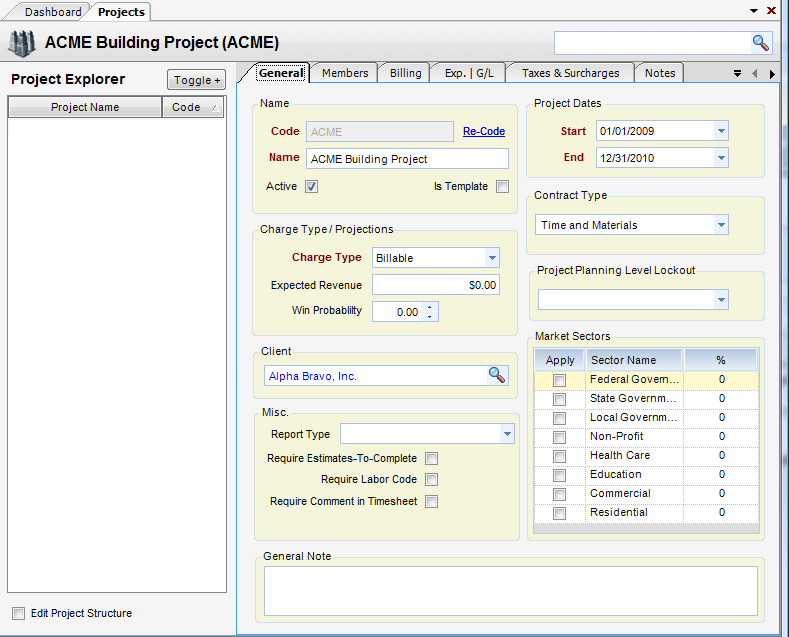
Step 3 - Click Save to create a new basic project.

Note 1: When a project is first created, the top level is know as the Bill Terms Node (Project). This is the node that receives the bulk of the project information, such as who the client is, what type of project it is, etc. All nodes beneath the Bill Terms Node (Project) can have limited information entered, such as contractual caps, allowable charging date ranges, budgets and rate schedules.
Note 2: The Bill Terms Node (Project) is usually the top node, but it can also live at the second level. This is accomplished by inserting a roll-up node above the Bill Terms Node (Project). In this way multiple Bill Terms Nodes (Projects) can be grouped together for project reporting purposes.
Charge levels are important in the setup of projects. Charge levels need to be established for ODC, OCC and ICC charges. The setting dictates at what level of the WBS charges can be applied. By default, that level is the bill terms level. Labor can be charged only to a bottom node (a node with no children). For instructions on how to do this see the Establishing Charge Levels section of this manual.