Overview
How to convert expense sheets to journal entries.
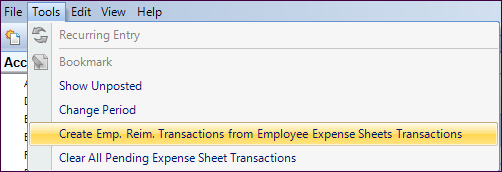
Step 1 - Select the Create Emp. Reim. Transactions from Employee Expense Sheet Transactions option in the Tools menu in the Employee Reimbursable Journal toolbar.
Step 2 - You will be presented with a Generate Transactions pop-up window.
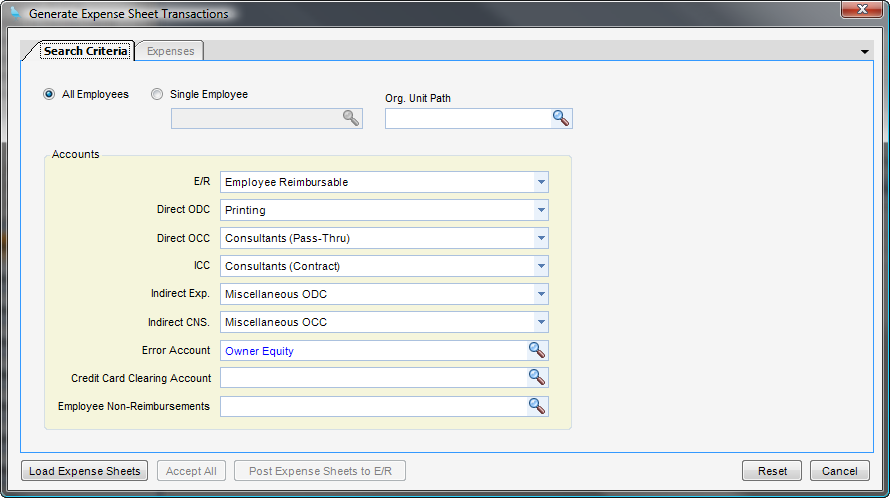
Search Criteria - Use this tab to filter available expense sheets and to establish posting accounts. When deriving G/L accounts from base accounts the system will first attempt to use the Employee Profit Center and if unsuccessful then the Project Profit Center.
Fields
| • | All Employees - When checked, all employee expense sheets will be analyzed. |
| • | This Employee - When checked, only the listed employee's expense sheets will be analyzed. |
| • | Org. Unit Path - When filled out, only employees belong to this org unit, or one of its child org units will be analyzed. |
| • | E/R - Employee reimbursable sub-ledger account. |
| • | Direct ODC - Direct ODC base account. |
| • | Direct OCC - Direct OCC base account. |
| • | Direct ICC - Direct ICC base account. |
| • | Indirect Exp. - Indirect expense base account. |
| • | Indirect CNS. - Indirect consultant base account. |
| • | Error Account - Error G/L account. Used when a G/L account cannot be derived. |
| • | Credit Card Clearing Account - This is the offset account for credit card line items. |
| • | Employee Non-Reimbursements - This is the variance account for non-reimbursements. |
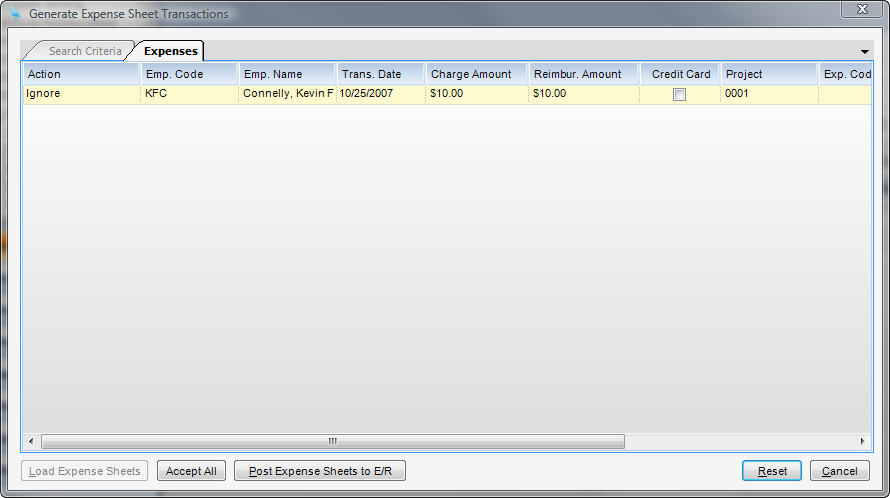
Step 3 - Once all information has been filled out click on Load Expense Sheets. The Expense Tab will now be activated. A grid appears with all unprocessed expense sheet line items. You can now flag which line items should be processed.
The first column, Action, is a drop-down list of possible actions for the respective row. The actions are:
| • | Ignore - Do not process this line item. It will be available in future conversions. |
| • | Accept - The line item is approved and will be part of the created transaction. |
| • | Decline - The line item is rejected and will not be part of the created transaction. The employee will not be reimbursed. |
Step 4 - Once all entries have been made, click on Post Expense Sheets to E/R. You will then be prompted for the G/L period and invoice date. Fill these out and click Ok. The transaction is now created.
Note: If batch entries are enabled (Global Settings), you will also be prompted for a batch ID. If you want to see the created transaction, use the journal lookup. When you get a list of transactions, sort the list in descending order on the Transaction ID columns. The largest transaction ID will be the newly created transaction. (Or press F3 in the lookup for a list of the most recent transactions.)