Overview
How to create an Invoice Group. Invoice Groups allows for billing more than one project on a single invoice. Each project has its own invoice design and a cover sheet design can then be used to summarize the relevant projects.
Note: Invoice Groups...
| • | are established on the client record. |
| • | allow for multiple Projects (Bill Terms node) from a common client to be invoiced under a single invoice number |
| • | share the same invoice and are generated in the run, but do not appear on the same piece of paper. Each project uses its own master design. |
| • | are assigned a cover sheet invoice section that summarizes the multiple projects’ current billing info. |
Step 1 - Pull up the client for which you wish to create an invoice group.
Step 2 - Click the Invoice Groups button located in the toolbar (Fig.1).

(Fig.1)
Step 3 - Click the New Invoice Group button located on the Invoice groups pop-up box (Fig.2).

(Fig.2)
Step 4 - Fill out the pop-up box with the appropriate information (Fig.3).
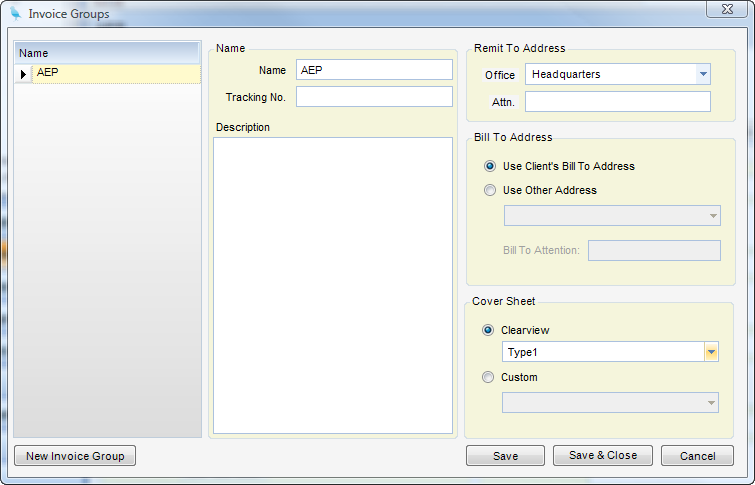
(Fig.3)
Name
| • | Name - Name of the Invoice Group |
| • | Tracking No. - Next invoice number for this billing group. Used only when invoice incrementing is set to Project. |
| • | Description - User-entered description. Informational only. |
Remit To Address - Remit-to addresses are available in Invoice Designs.
| • | Office - Company office as established in Global Settings |
| • | Attn. - Attention line. |
Bill-To Address
| • | Use Client Bill-To Address - When checked, client Bill-to Address is used. |
| • | Use Other Address - When checked, specifies an already established client address to use in place of the client Bill-To address. |
| • | Bill-To Attention - Attention line |
Cover Sheet
| • | Clearview - System cover sheet design to use; not applicable when Custom is used. |
| • | Custom - User cover sheet design; not applicable when Clearview is used. |
Step 5 - Click Save
Step 6 - Now go to the Project applet (Project Administration Applet), Billing Tab, and pull up each project that you want to add to the Invoice Group. Select the Invoice Group from the Invoice Group drop-down (Fig. 4) and click Save.
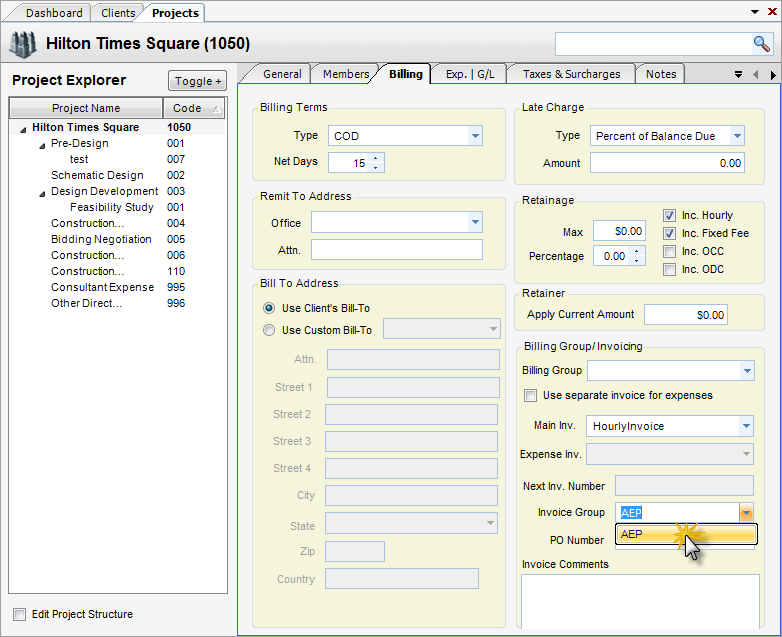
(Fig.4)
Step 7 - Now you can Invoice the billing group. To do this, in Automated Invoicing, select Selection Based from the Projects selection (Fig. 5). Then choose the Invoice Group from the drop-down. If all of the Selection Criteria is correct, you can now run the invoices.
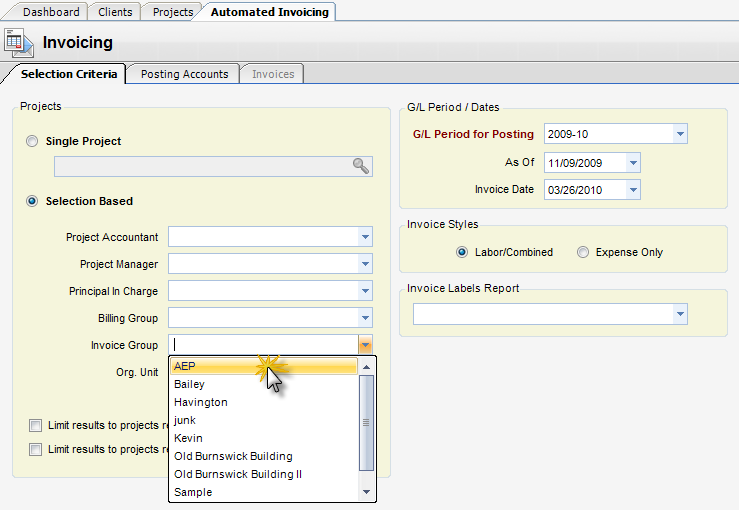
(Fig.5)